Since I'm a geneticist and not a computer software engineer or a game developer, if you do not like my explanation; tough luck! Wikipedia and Google will give a way better explanation of gaming graphics mechanics.
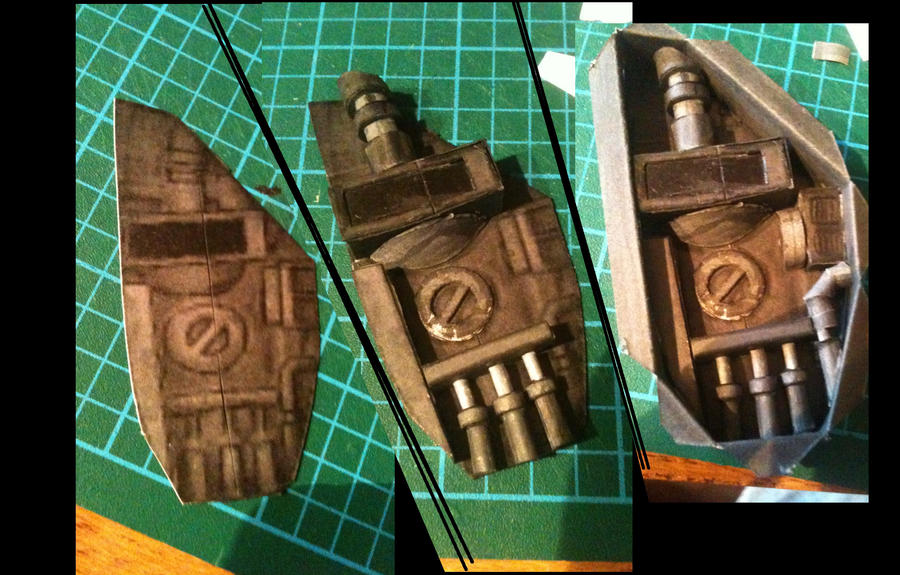
Behind the right arm (for those who play EVE; spin the model...) there's some kind of mechanical apparatuses. Since I thought it would be cool to give the model the most details I could, I decided to make them real parts.
Hence by randomly cutting pieces of card stock, coloring them and gluing them, I achieved what you see in the picture above.
The picture does not give it justice, but it's an evolution of the papercrafting from a 2D to a 3D model.
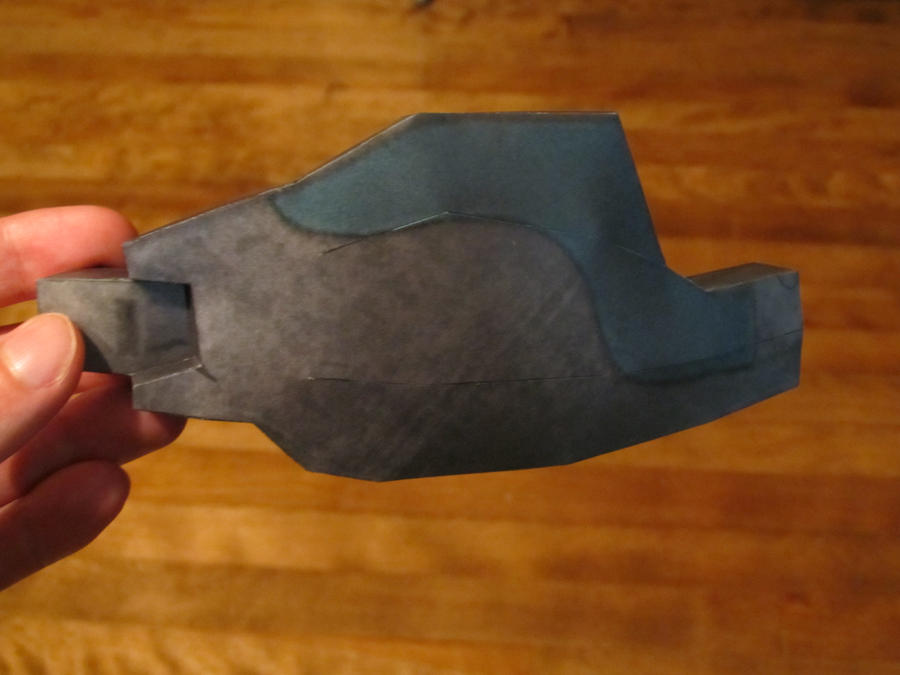
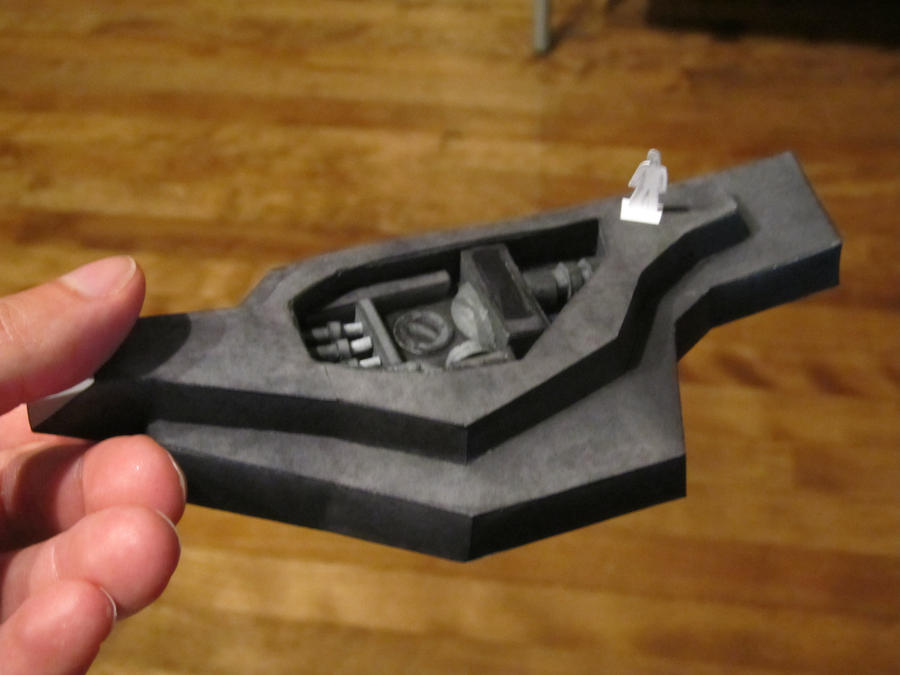
The finished model looks like the following 2 pictures.
I took the picture of the underside of the arm with my human figurine as I found that it gives it a lot more perspective and it looks cool as I imagine that person slowly building the ship, soldering part by part all the armor and ...
Also when I was doing the mechanical part, there was a circle in the middle that looks like a "do not X" sign.
I think, since it's the size of a human, it is an opening to the inside of the arm... but only the real ship designer will know what it is....
Since I'm up to date in all the posts, new posts will come roughly once a week when a new piece is done.
No comments:
Post a Comment