Friday, December 28, 2012

The upper section

I am very much non consistent when I write for this blog.

The ship is moving along quite slowly but nicely.
I'll be writing about the upper part of the ships that I shall call the skylight section.
I always imagined this part of the ship as being some kind of lounge with holographic screen to play all type of holoreels and games; basically the crew R & R. It would have a small kitchen, at least 2-3 holographic screen, a couch, lounge chair and all that topped by 4 huge skylights.

Just behind the skylight area, there's a kind of stair case design that looks like a vertical lift door. I would like to think that this "garage door" is used to protect the fueling/  waste section of the ship. Every time the ship goes to a station for "enough time", the crew would start the waste disposal and refueling of clean atmospheric gases, liquids and fuels. Basically, it would hide a multitude of electromuscles controlled tubing and probably a few weak tractor beam to help with the whole maneuvers.

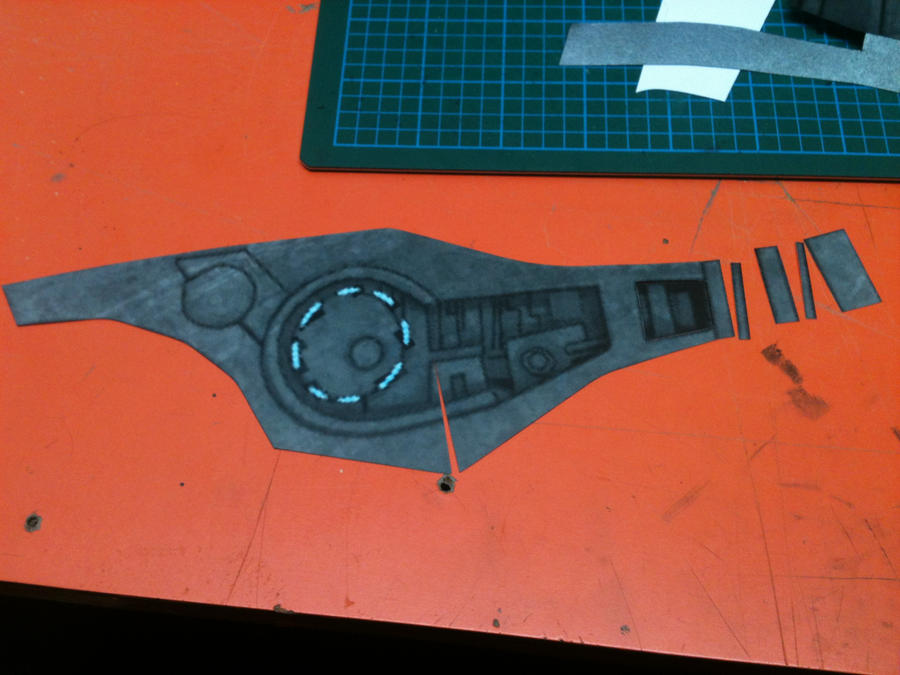
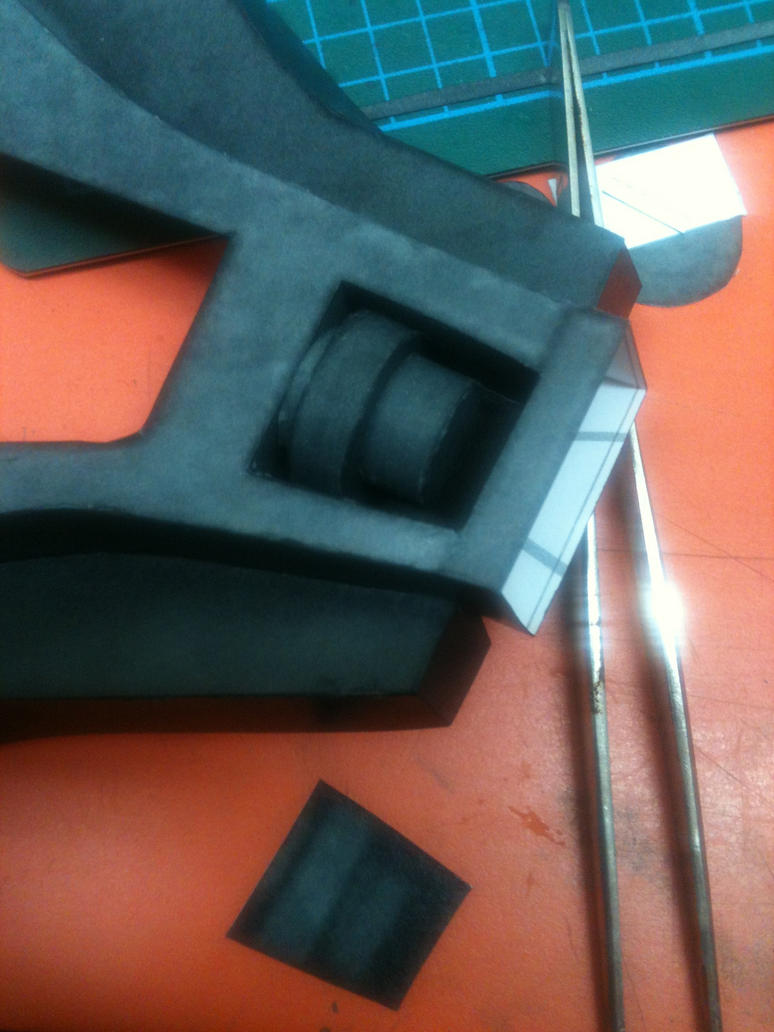
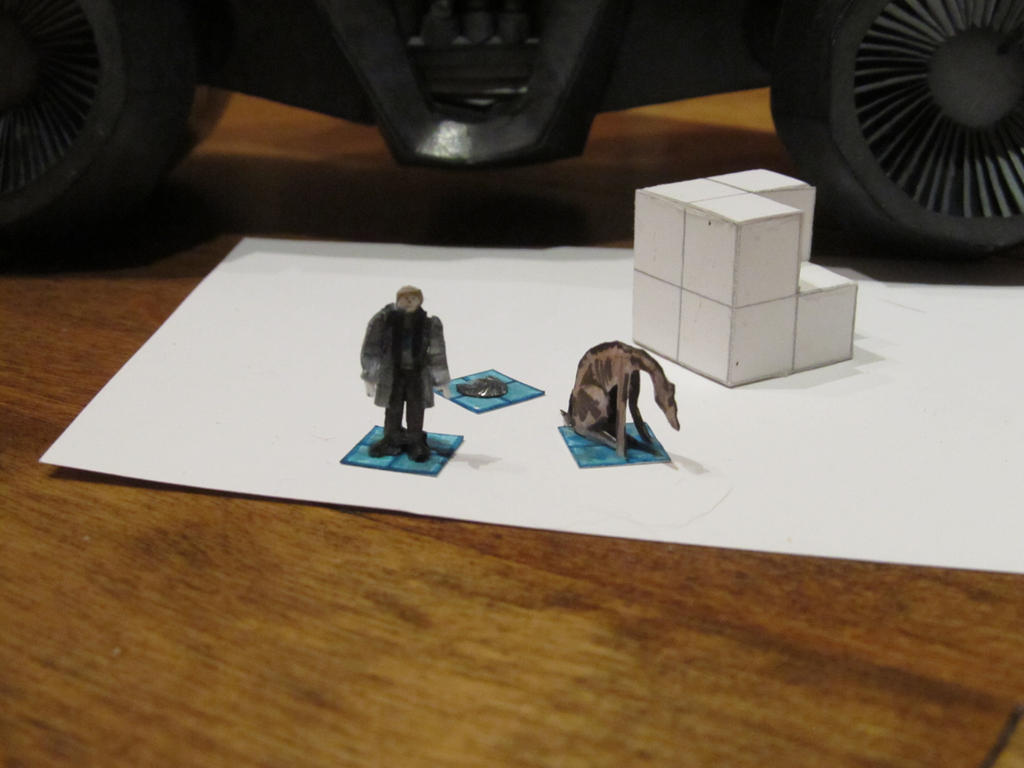
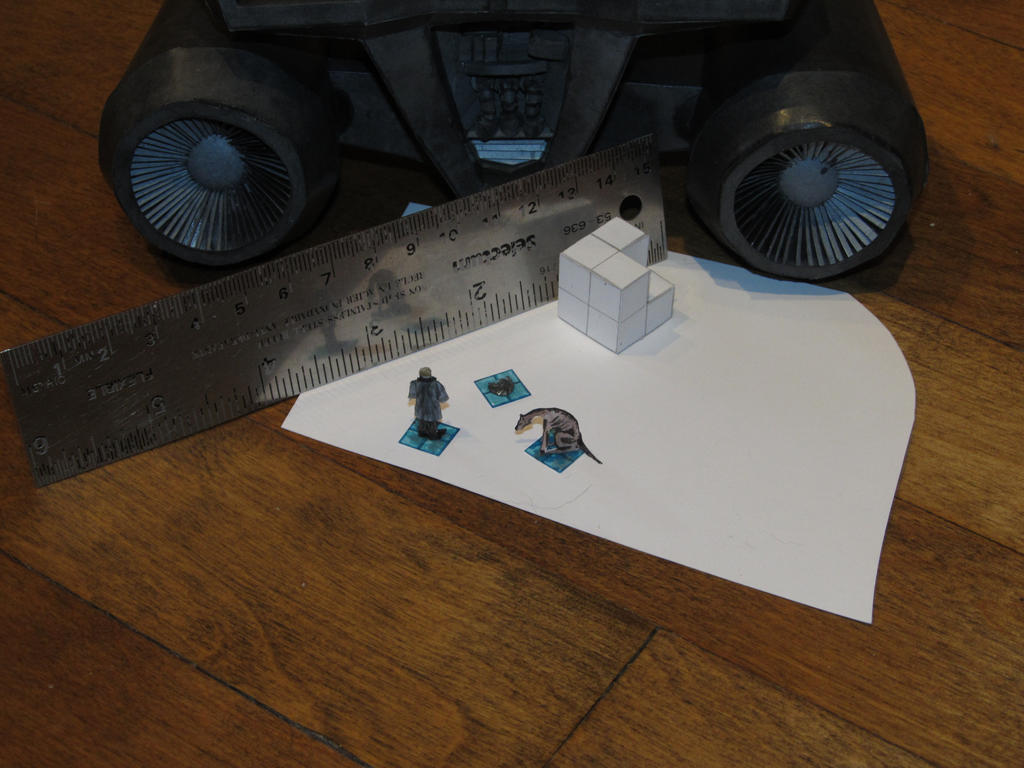
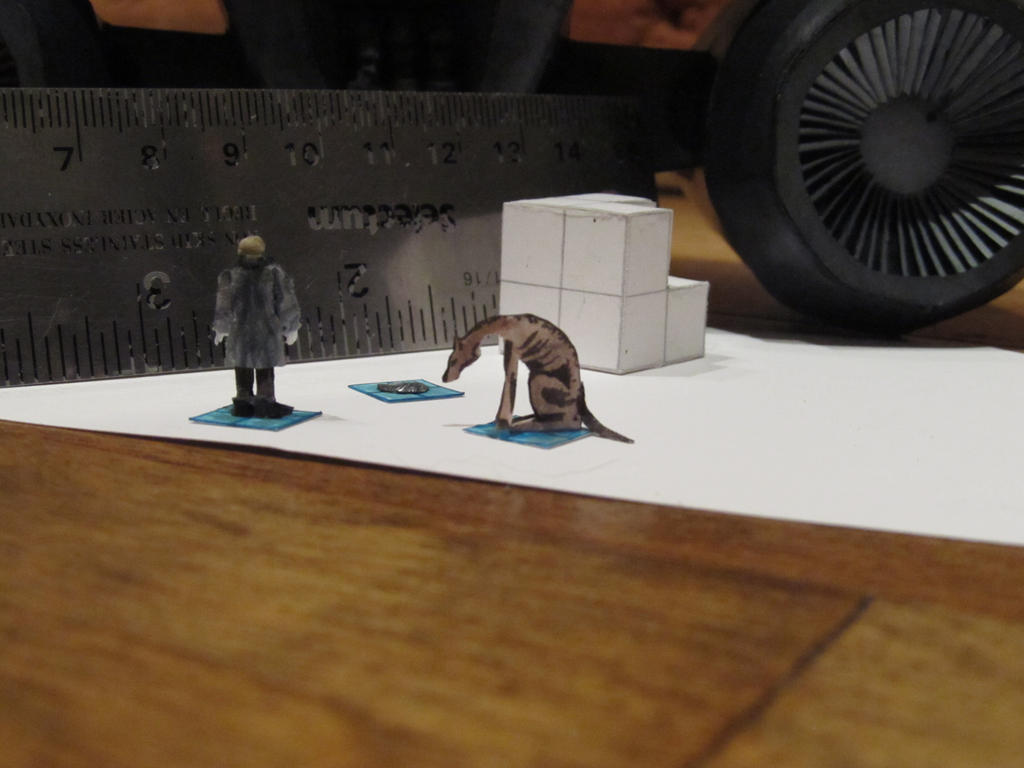
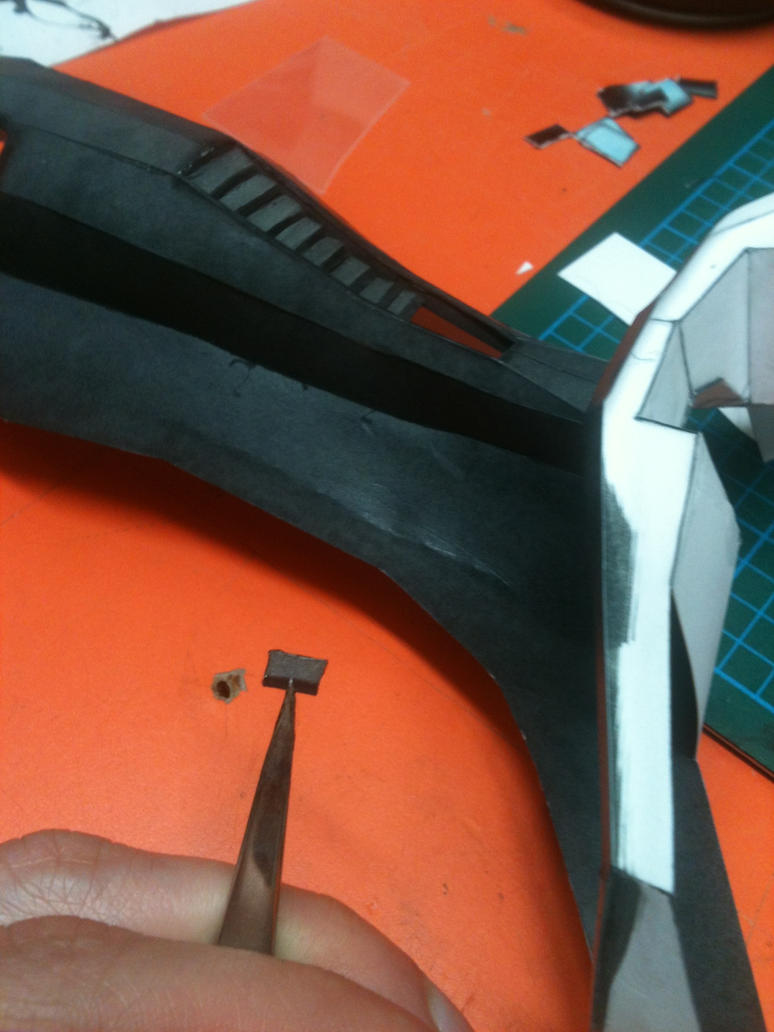
The last part of this piece would be the atmospheric flight air intake. Like a lot of pieces containing 3D details through specular and bump map; when printed on paper, all details are lost. The stair case was made by making a surrounding box and then adding stairs as seen in the upper right picture. The left and right pictures contains the printed version and 3D version of the air intake fins. When doing them, the only thing I needed to watch was their depth for when I assemble them with the engine.


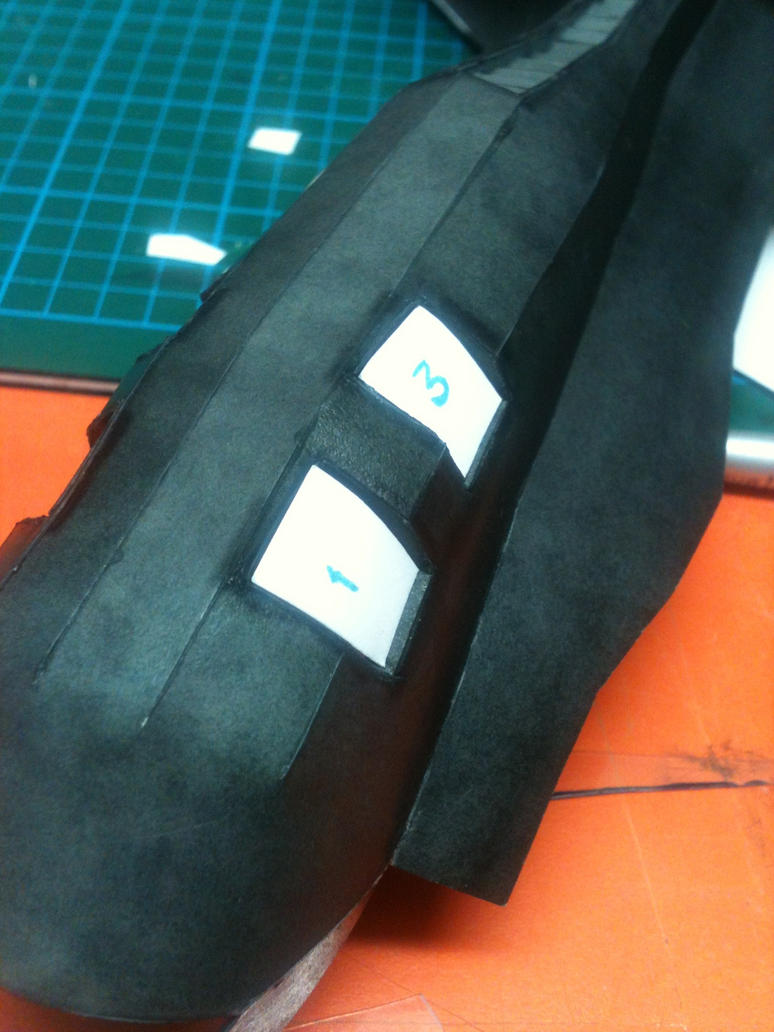
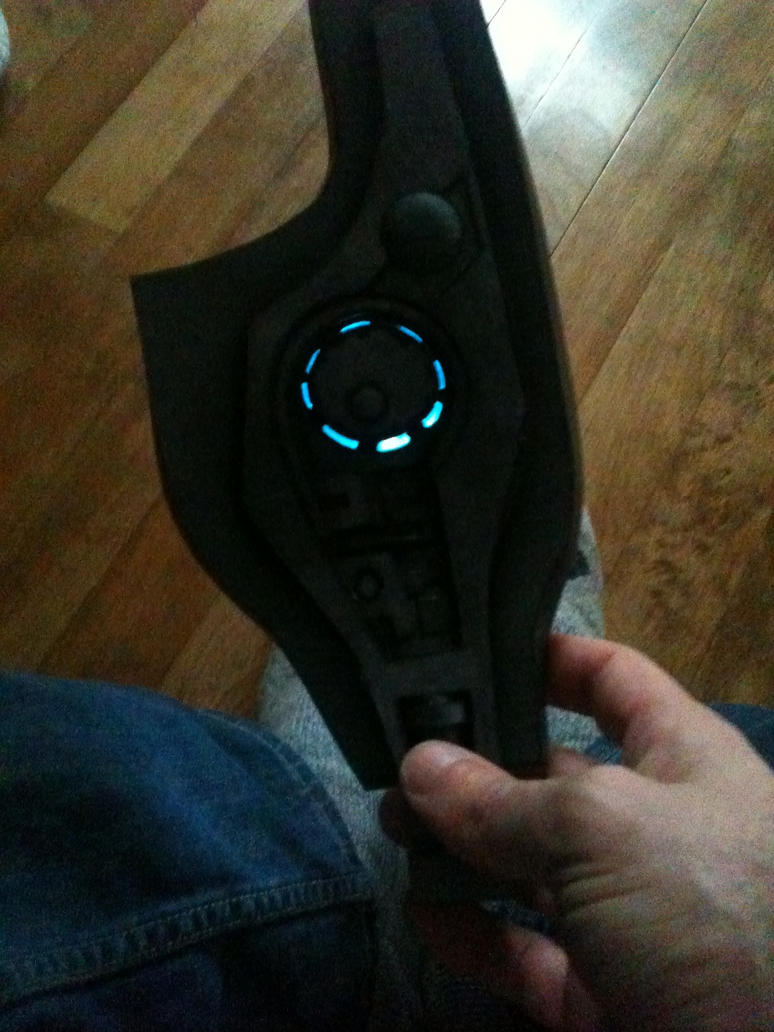
The last piece that I would like to talk about is the skylights I've mentioned above. To make them I needed to buy some pébéo Vitrail Turquoise paint. This paint is fun to use. It requires a bit of practice to lay down without bubbles. The trick I've developed was to put down a thick coat and let it flow down the transparent plastic. As for the plastic, I just took any non specific thick plastic wrapping I had on hand.

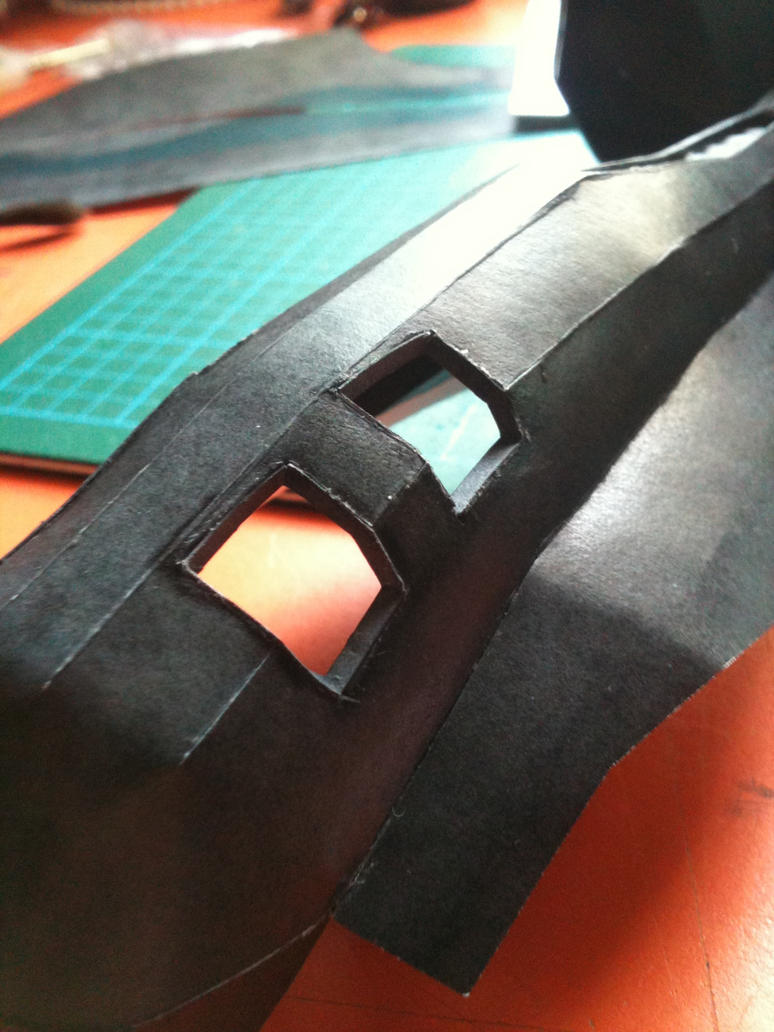
The first thing I did was to cut out the windows from the built piece, then proceeded to built window frames. Once the frames done, I cut specific piece of cardboard to match each holes. With the piece cut, I then cut the painted plastic using the cardboard template and then molded them to give a curve. After a few final fitting adjustments, they were glued. I then proceeded to light proof the windows and the hull by painting it in black.

Tuesday, March 27, 2012

A small side project

In my previous blog, I mentioned that I used the LDD software from Lego to create the necessary mechanical piece to be able to move the arms of the ship. Using the LDD was a lot of fun and over the last 2 weeks, I decided to do a small side project.
The biggest hassle in using the LDD is that you always need to find the brick that you want. All brick are categorised but the categorisation does not always make sense (my point of view). While searching for all the brick I needed, I stumble on the lego people section and just decided to have a bit of fun... At one point I had a skeleton horse chasing  a droid army chasing just a wide variety other characters...
Then, I decided I was going to give a try at creating the Firbolg fighter; decided it was too hard I tried the Cyclops fighter bomber; decided it was too hard I tried the Einherji fighter. This last one was easy as it contains only flat surfaces. Then about 2 weeks ago while surfing the cuusoo website, I notice the Rifter done by Czar and thought it was really cool. Upon reading more, if a design gets 10 000 votes there is a chance in making it a real kit.
I later decided that I would post the Einherji I made to try to support Czar so that we get lego made Eve online toy.
I can see myself playing the T3 cruiser and moving different hulls together... I would definitely buy them for (me) my brother's kid.
Hence this ship is now available on the cuusoo website to get voted on. Hope you all vote for this ship and Czar Rifter.
This is the address to vote for it: http://lego.cuusoo.com/ideas/view/13056
and Czar rifter: http://lego.cuusoo.com/ideas/view/11619

Below is my attempts at making all the ships I mentioned above. The upper right corner is the Firbolg helm, the middle is the Cyclop helms, at the bottom is the Einherji and the lower right is the start of the Ammarian Templar. I still plan on finishing the first models...

Tuesday, March 20, 2012

Lego; going back to our inner child

From the beginning I've been wondering how to make the pieces move and how to activate them. I went through multiple scenarios, but all of them required complex electronic and gear systems that I needed to buy from hobby shops or online. About 1 month ago for some reason, I though about the Technic Lego line of toys. I then search the Lego web site for a way to buy individual pieces and arrived on the LDD or Lego Digital Designer. The LDD is a free piece of software that allows the user to design Lego models and it is pretty awesome. An example of it's awesomeness is the Rifter made by czar. I also found on the site the Pick A Brick service.
After about 3 weeks and multiple different designs, I am finally finish. Now using the LDD manager tool, I am able to get a list of all the parts and order them from Lego.
The upper left image contains the mechanical part of the ship within the LDD software. The left image contains an overlay of the mechanical apparatus on the ship. I can't wait to order and assemble it to see if it works.

Thursday, February 23, 2012

The upper right arm

The upper right arm was a fun piece to do. It's not yet finish because I have not finished it's electronic parts.
As seen in the left image, the junction have been cut to allow for the movement apparatus and to add some dimension. Just like all the other parts, I've added additional details to give it a more depth.
In the row of images below, the left image represent what I'll say is the Lorentz fluid tank for the pulse shield emitter located in the middle image and being constructed in the right image.

The second row of images contains images of a more finish product. For the first image, as described in an earlier blog, I paint the interior of the model in black so that when lighted, light doesn't bleed through. The second image is just the more finish model and the last image is the shield emitter lighted with a flashlight.

To the left is a video that more-less shows what the lighting process will look like when finish (done with a flashlight). What I am planning on doing is a rotating light that speeds up to a point where all lights are on. The problem I am having right now is that I can't seem to find all the chips I need. I've checked Addison, Future shop and la Source in Montreal but still can't find all I need. I think I'll just bite the bullet and buy the missing piece from a Asian distributor.

Saturday, February 18, 2012

The crew

Over the last 2 months, I was playing Skyrim; and it was worth it! That is an amazing game...
Hence now I am starting anew on the Tristan project.
During the Chrismas holidays, I showed what I was doing to my mom as she is always wondering what her child is doing in his free time. But about 2 weeks ago, when I decided to restart the project, I noticed that I had lost Bob.
I liked Bob because he was good at showing the relative size of things.
I decided to redo him, but also to add 2 new members to the crew.
Hence a 6 feet (17.5 mm) Bob was recreated with brown pants, a green t-shirt and a grey trench coat. His trusty guard dog Crick the Slaver hound (11.5 mm high), and Watson his fat black cat (4.8 mm long).
Now I need to start doing the electronic parts of the ship since I have most of the other parts almost finished. Other blogs will show the progression of the 2 upper arms and legs of the ship.