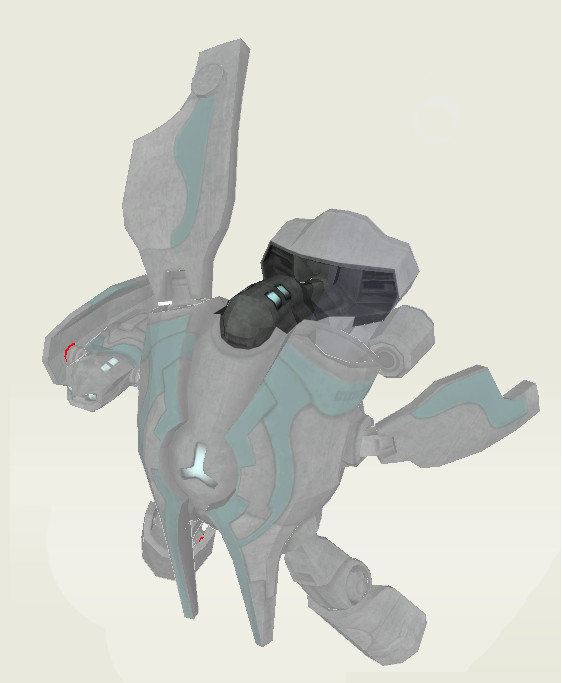
The ship is moving along quite slowly but nicely.
I'll be writing about the upper part of the ships that I shall call the skylight section.
 I always imagined this part of the ship as being some kind of lounge with holographic screen to play all type of holoreels and games; basically the crew R & R. It would have a small kitchen, at least 2-3 holographic screen, a couch, lounge chair and all that topped by 4 huge skylights.
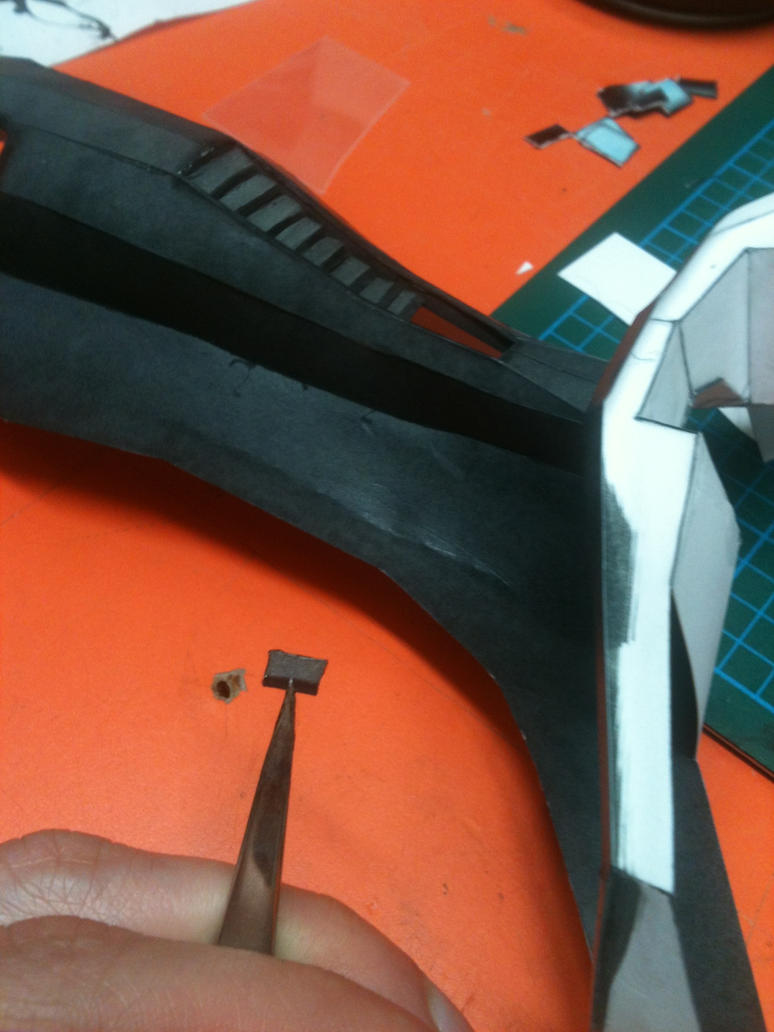
Just behind the skylight area, there's a kind of stair case design that looks like a vertical lift door. I would like to think that this "garage door" is used to protect the fueling/ waste section of the ship. Every time the ship goes to a station for "enough time", the crew would start the waste disposal and refueling of clean atmospheric gases, liquids and fuels. Basically, it would hide a multitude of electromuscles controlled tubing and probably a few weak tractor beam to help with the whole maneuvers.

The last part of this piece would be the atmospheric flight air intake. Like a lot of pieces containing 3D details through specular and bump map; when printed on paper, all details are lost. The stair case was made by making a surrounding box and then adding stairs as seen in the upper right picture. The left and right pictures contains the printed version and 3D version of the air intake fins. When doing them, the only thing I needed to watch was their depth for when I assemble them with the engine.
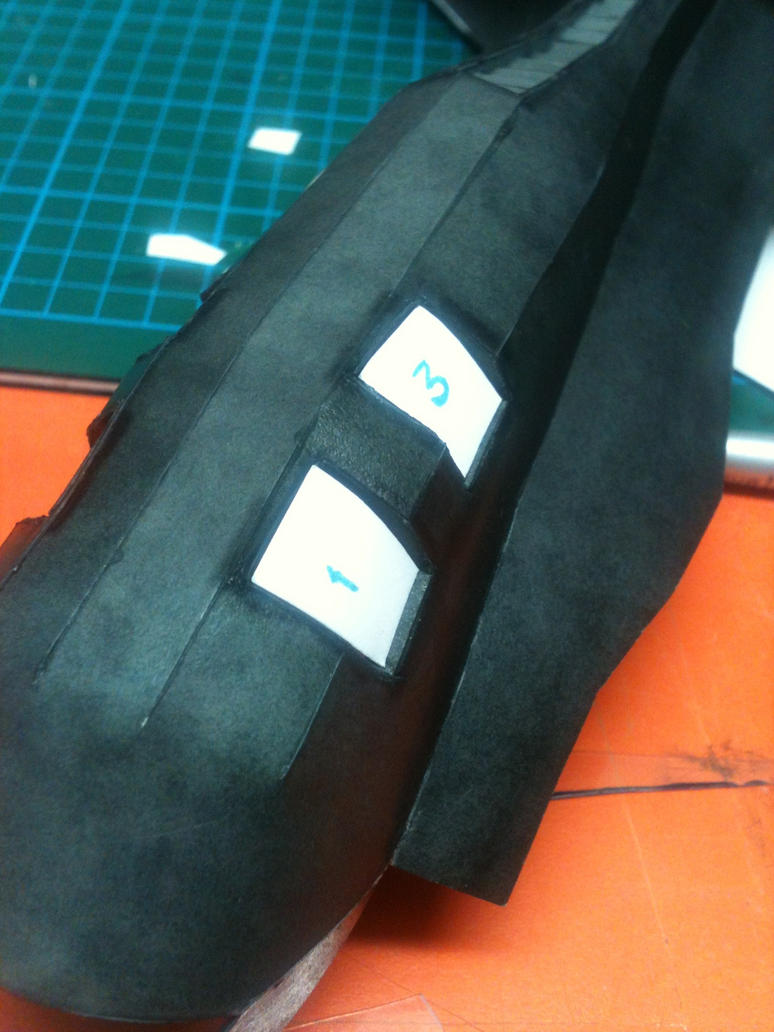
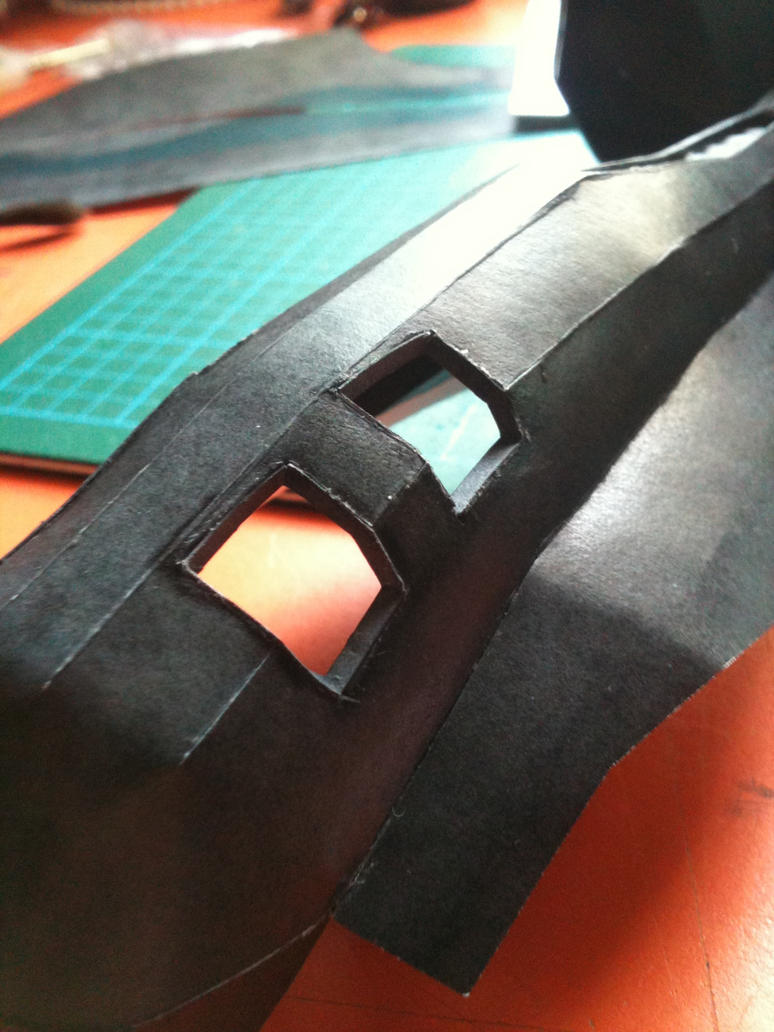
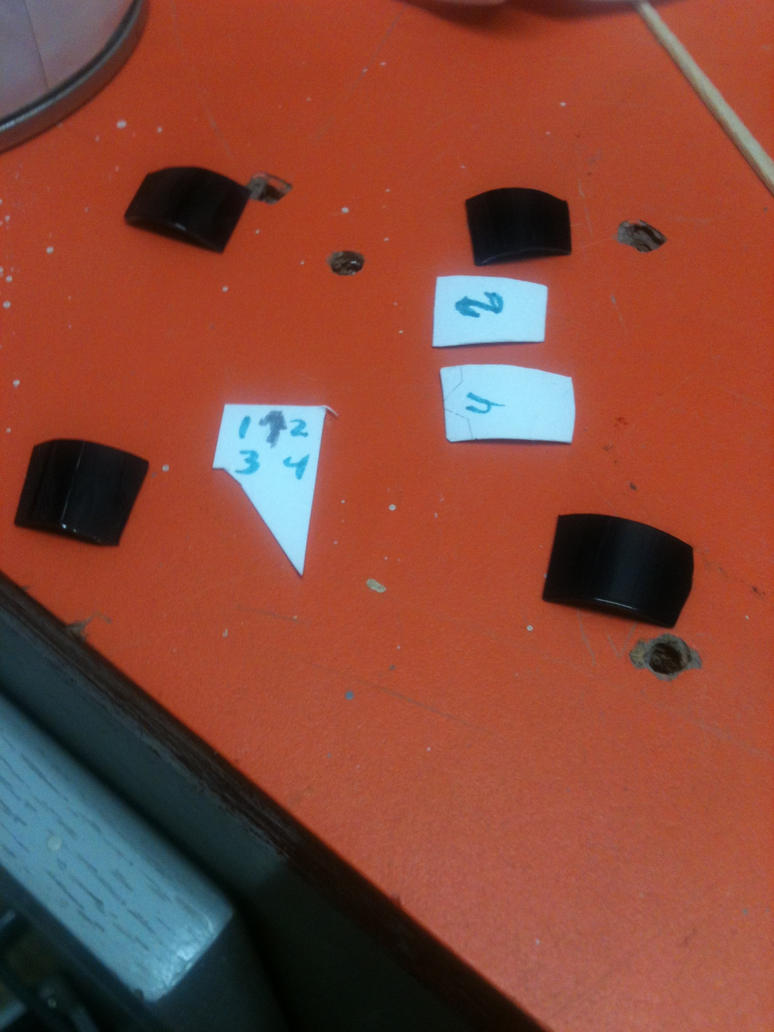
 The last piece that I would like to talk about is the skylights I've mentioned above. To make them I needed to buy some pébéo Vitrail Turquoise paint. This paint is fun to use. It requires a bit of practice to lay down without bubbles. The trick I've developed was to put down a thick coat and let it flow down the transparent plastic. As for the plastic, I just took any non specific thick plastic wrapping I had on hand.
The first thing I did was to cut out the windows from the built piece, then proceeded to built window frames. Once the frames done, I cut specific piece of cardboard to match each holes. With the piece cut, I then cut the painted plastic using the cardboard template and then molded them to give a curve. After a few final fitting adjustments, they were glued. I then proceeded to light proof the windows and the hull by painting it in black.
