Most ships, if not all, in the EVE Online universe are very detailed. But those details are not achieved by doing a very detailed 3D model as it would take too much computer juice to render all the graphics. One thing that they do is a skin where one of the channels (level of information) contains a bump map. When this bump map is processed by the computer, it gives a lot of "fake" details to an otherwise very flat surface.
Since I'm a geneticist and not a computer software engineer or a game developer, if you do not like my explanation; tough luck! Wikipedia and Google will give a way better explanation of gaming graphics mechanics.
One problem with the bump map is when printed on paper, you lose all the fancy computer graphic algorithms and it looks flat.
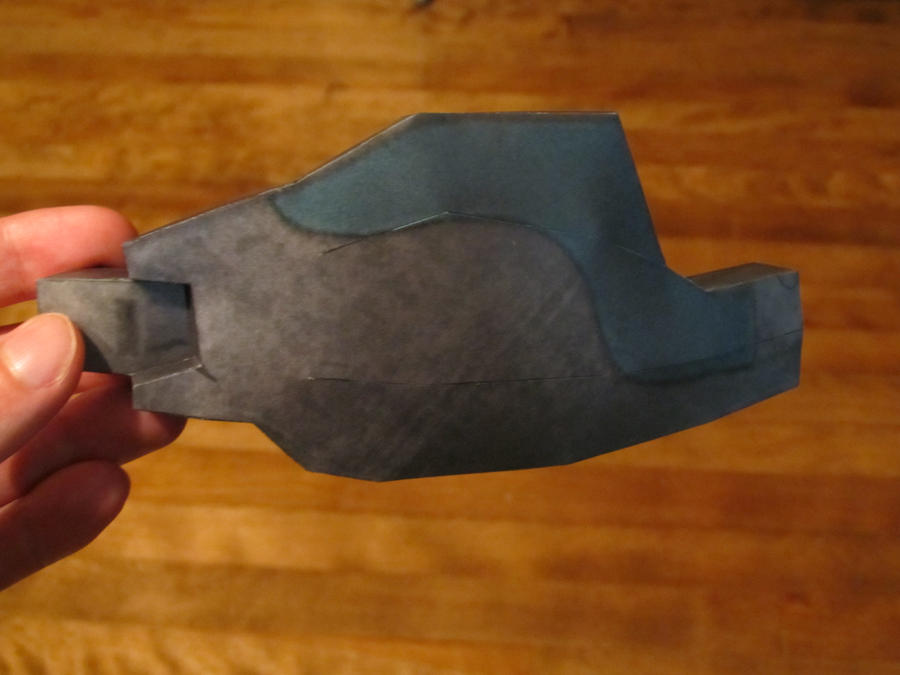
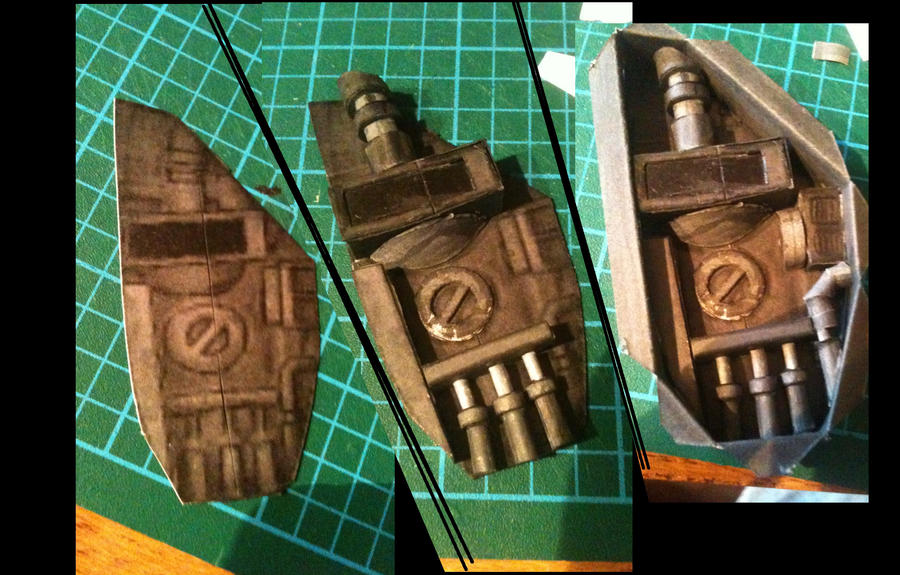
Behind the right arm (for those who play EVE; spin the model...) there's some kind of mechanical apparatuses. Since I thought it would be cool to give the model the most details I could, I decided to make them real parts.
Hence by randomly cutting pieces of card stock, coloring them and gluing them, I achieved what you see in the picture above.
The picture does not give it justice, but it's an evolution of the papercrafting from a 2D to a 3D model.
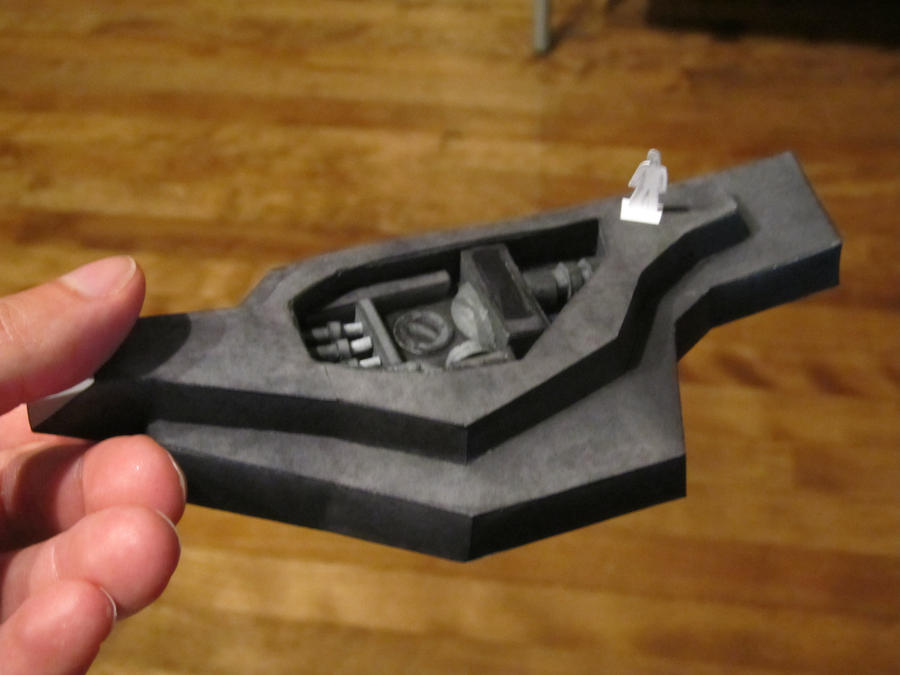
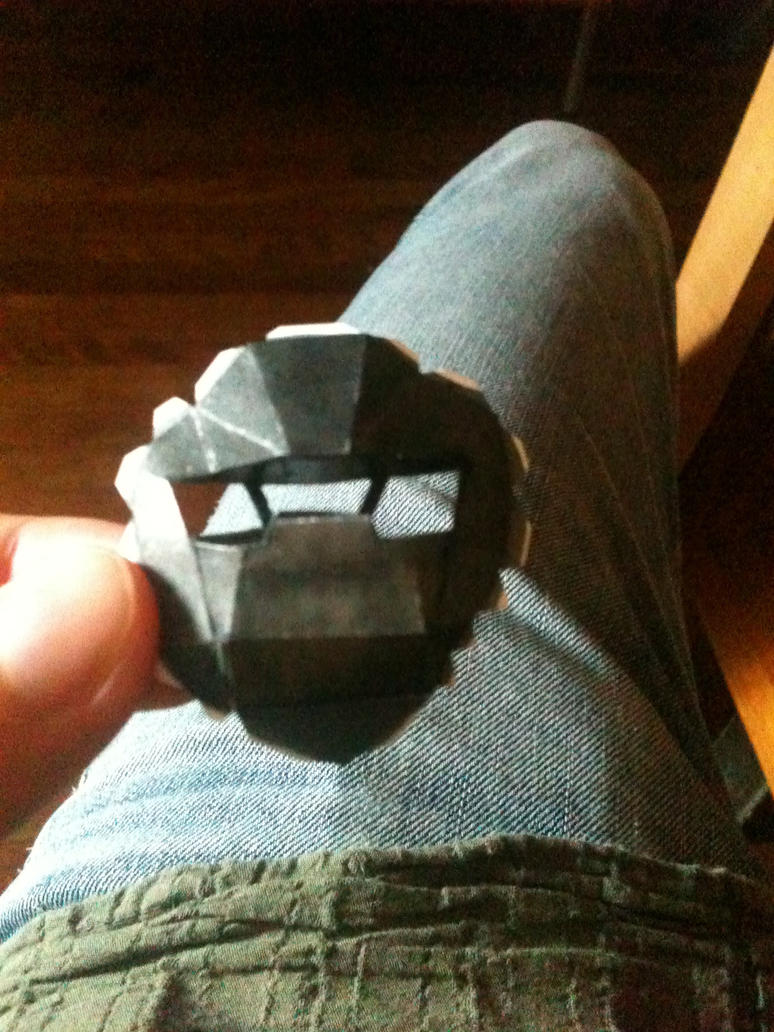
The finished model looks like the following 2 pictures.
I took the picture of the underside of the arm with my human figurine as I found that it gives it a lot more perspective and it looks cool as I imagine that person slowly building the ship, soldering part by part all the armor and ...
Also when I was doing the mechanical part, there was a circle in the middle that looks like a "do not X" sign.
I think, since it's the size of a human, it is an opening to the inside of the arm... but only the real ship designer will know what it is....
Since I'm up to date in all the posts, new posts will come roughly once a week when a new piece is done.
Thursday, August 25, 2011
Size and Scale
Just for the fun of it I decided to start with the left side of the ship.This contains the left shield, the tubes and the cockpit.
I started with the shield as it contained my 1 man corp logo and was easy to do.
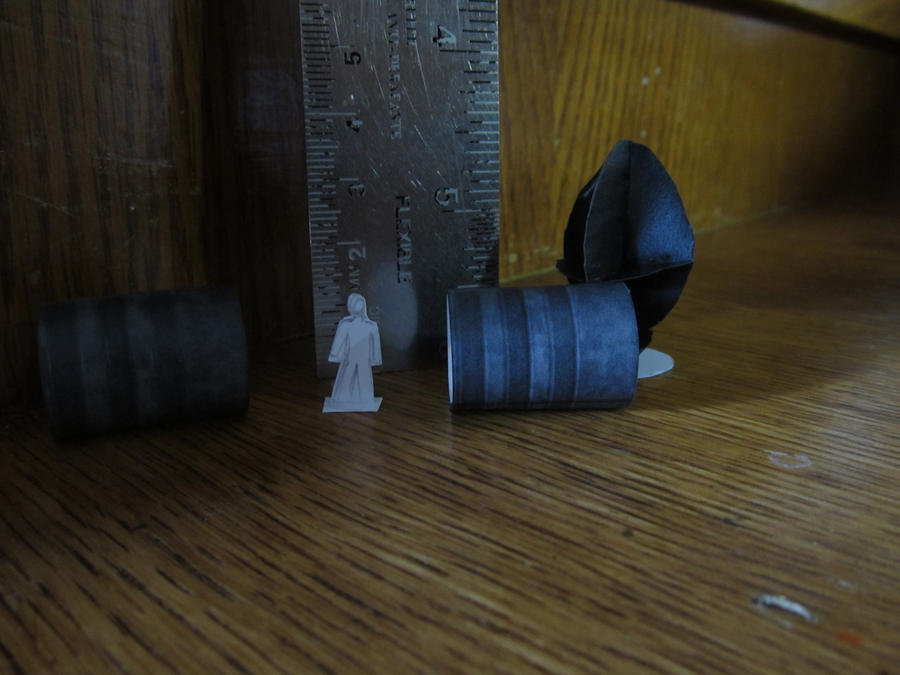
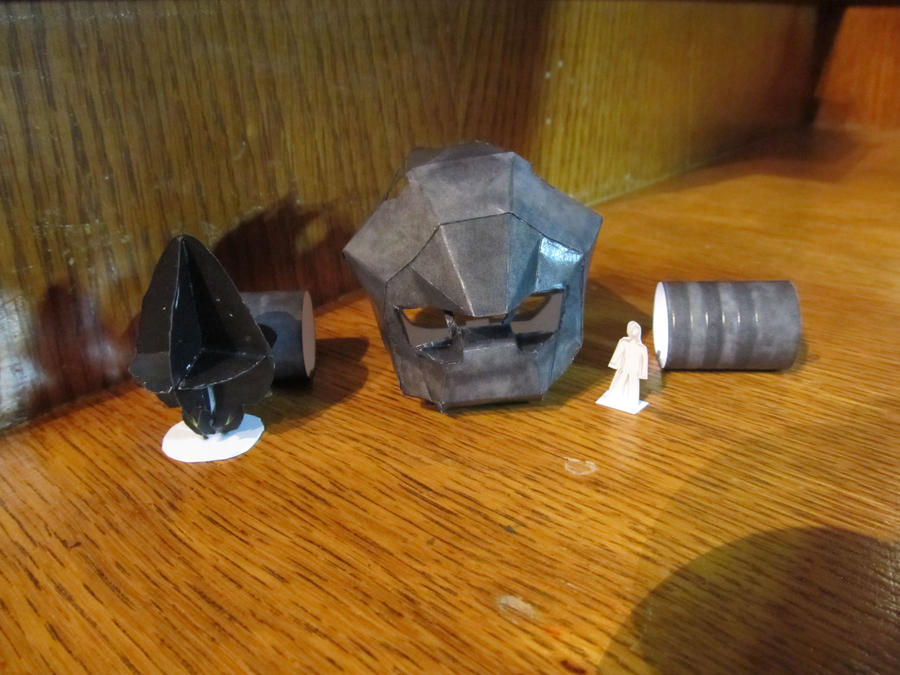
Then I proceeded with the tubes and cockpit. But in the middle of doing the cockpit, I wondered what the size of a pod and human were compared to the ship. In the left picture, you have the finished left shield, the original Pod with it's smaller brother (sized to the Tristan), a 6 feet human and a few of the cockpit parts. The right picture contains the size comparison of the tubes, a human and the Pod along with a ruler. By looking at that picture, you notice that a human, when passing from the ship main body to the cockpit (through the tubes), does not have a lot of leeway or space...
Left, right and below, you have respectfully the front window, the front part being fixed to a cockpit part and the half finished part of the cockpit. The back part of the cockpit will only be done once I figure out what I wanna do with the windows.
I was wondering if I should only put in some mate windows or if I should do some kind of shadow play by putting figurines in it and having semi transparent windows. BTW there's going to be a few LED s lighting everything up from the inside!
Wednesday, August 24, 2011
What is cool about the Tristan
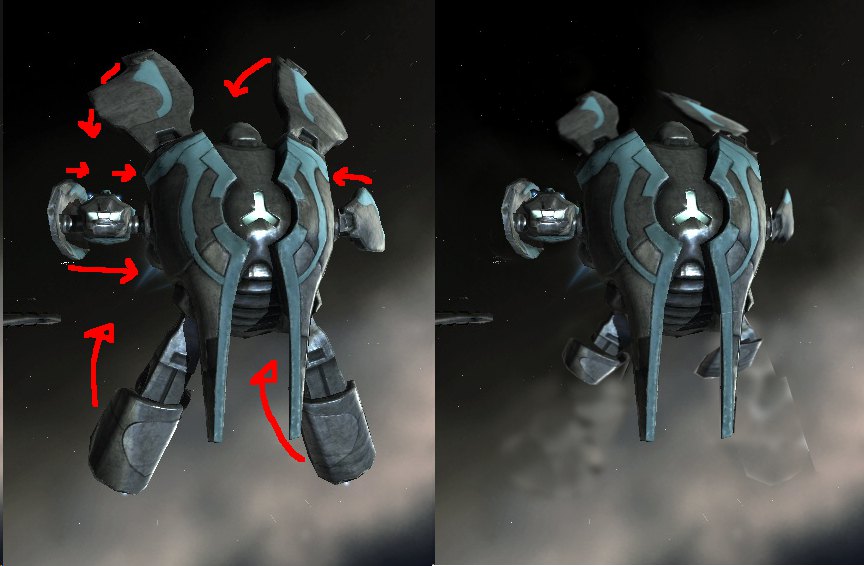
I always thought that the 6 "extremities" of the ship could move to give it a more aggressive stand.
Bellow is a picture of the 6 moving pieces of the ship.
I did it quickly just by deforming the moving piece so it looks a bit crappy, but it shows the essence of it.
The way I drew it, the cockpit could move in.
The 5 arms could fold back protecting the ship, reduce it's signal strength (when scanning for it) and make a more powerful overall shield.
Since I like challenge, I'll try to put a motor in it to have an offensive stand (compact) and an exploration stand (all open). I'll also be putting some light in and the beeping lights too.
Hello All,
This is the first entry to this blog about my ideals and the making of a papercraft EVE Online Tristan.
I first started doing papercrafting after I saw pupumonkey's post . He did very nice models of the Caldary Kestrel, Minmatar Firetail, Amarian Apocalypse and a Gallentean Vextor
After viewing his models, I decided to try my hand at it by doing a Pod and then a Thorax.
Now I'm doing my last model for a while and it will be a Tristan.
The ship model looks like this:
Here is a quick guide:
-Use software such as Pepakura and GIMP.
-Extract the model and skin from the EVE Online game, you need to have the game client and a software called TriExporter.
-As for the skin of the model, I use GIMP to modify it and to make it fit as the skin from the game contains multiple layers that needs to be modified for printing purpose.
Guin
Subscribe to:
Posts (Atom)