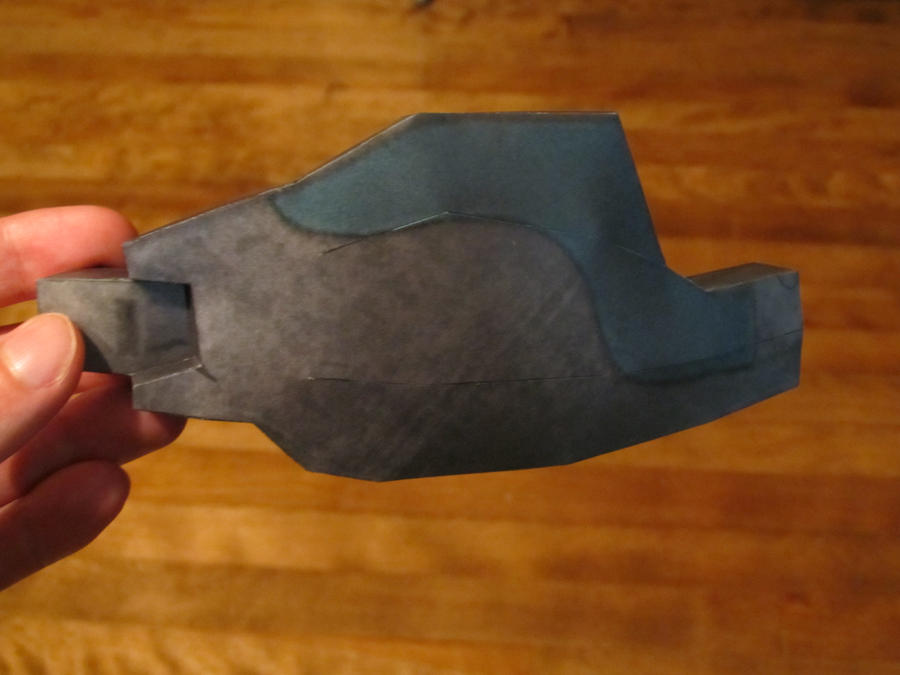
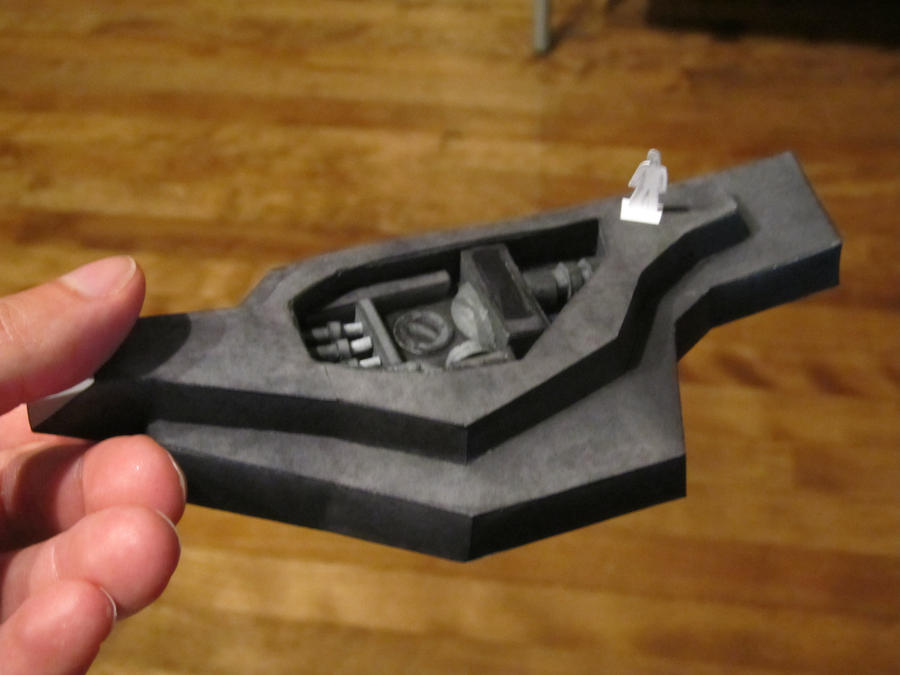
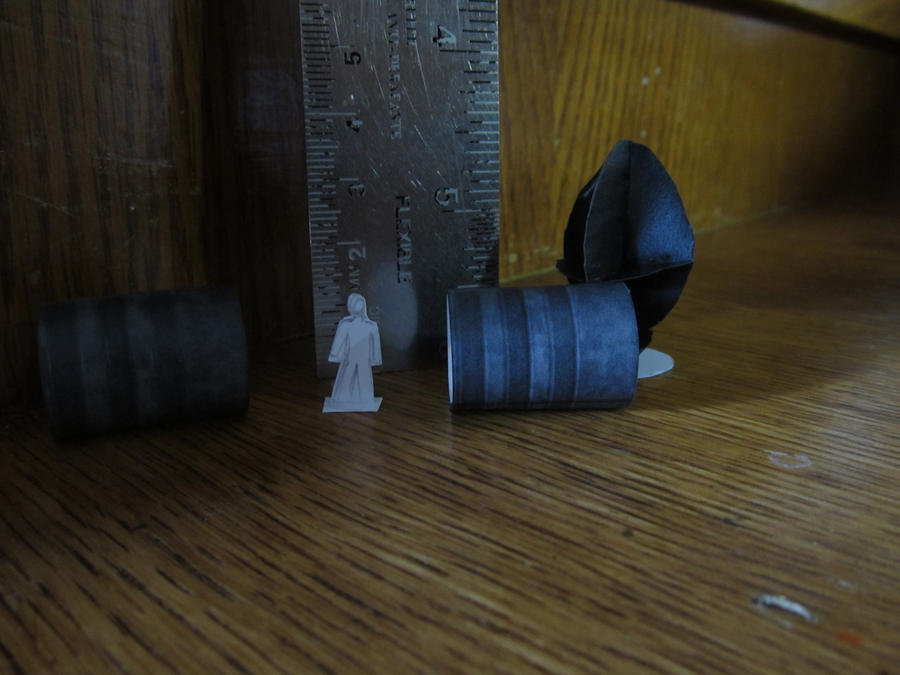
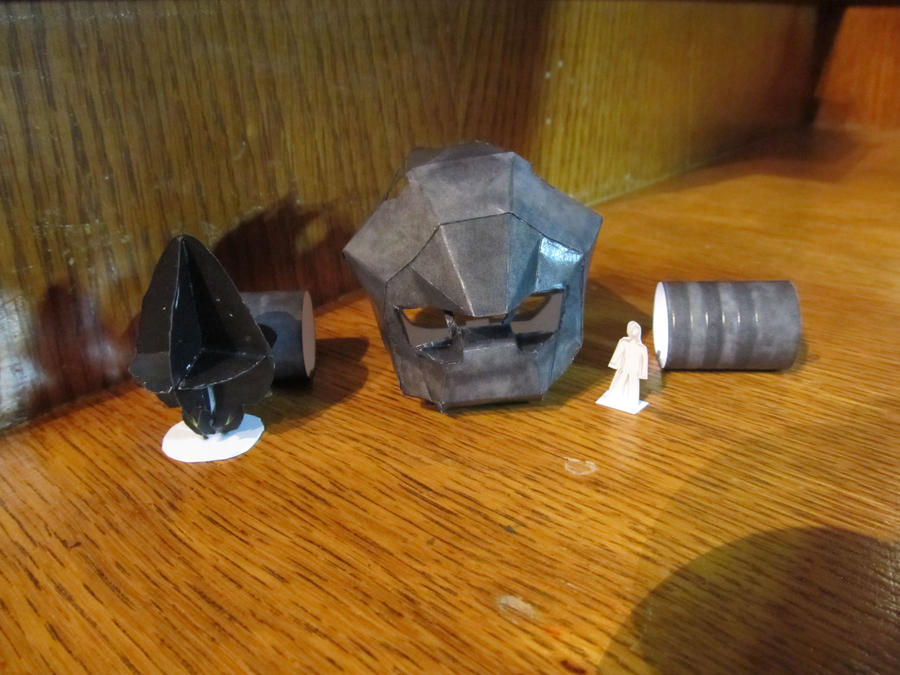
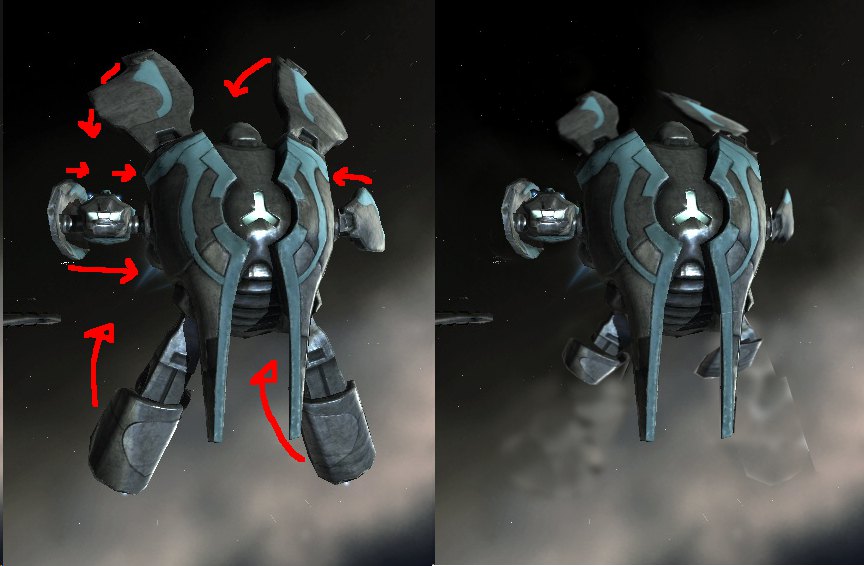
Since I wanted to get a feel for the size of the ship, I've decided to start building it's main body.
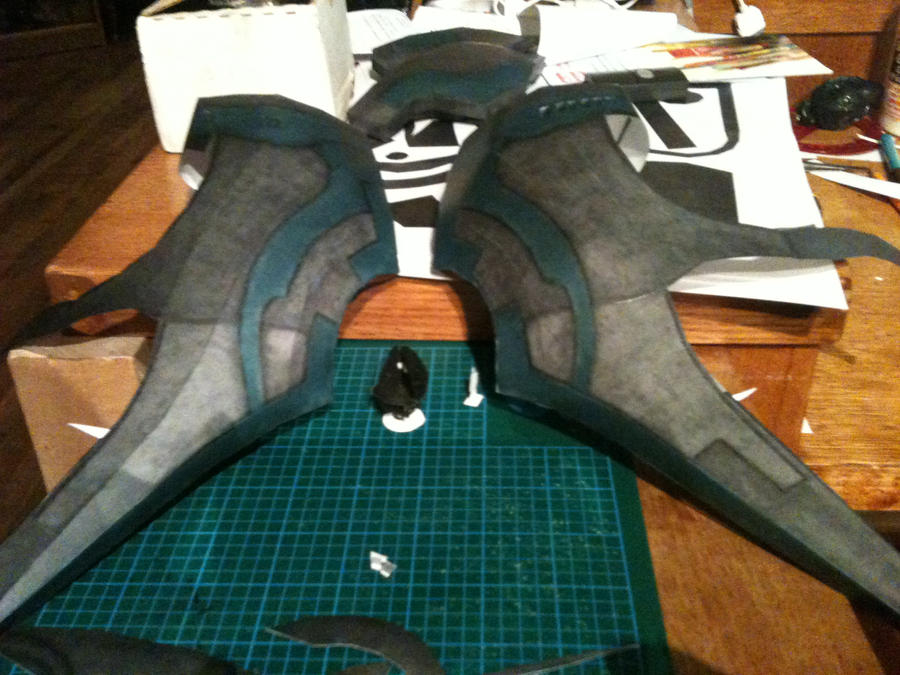
 The full ship height is roughly equivalent to a 15 floors building or ~58 meter.
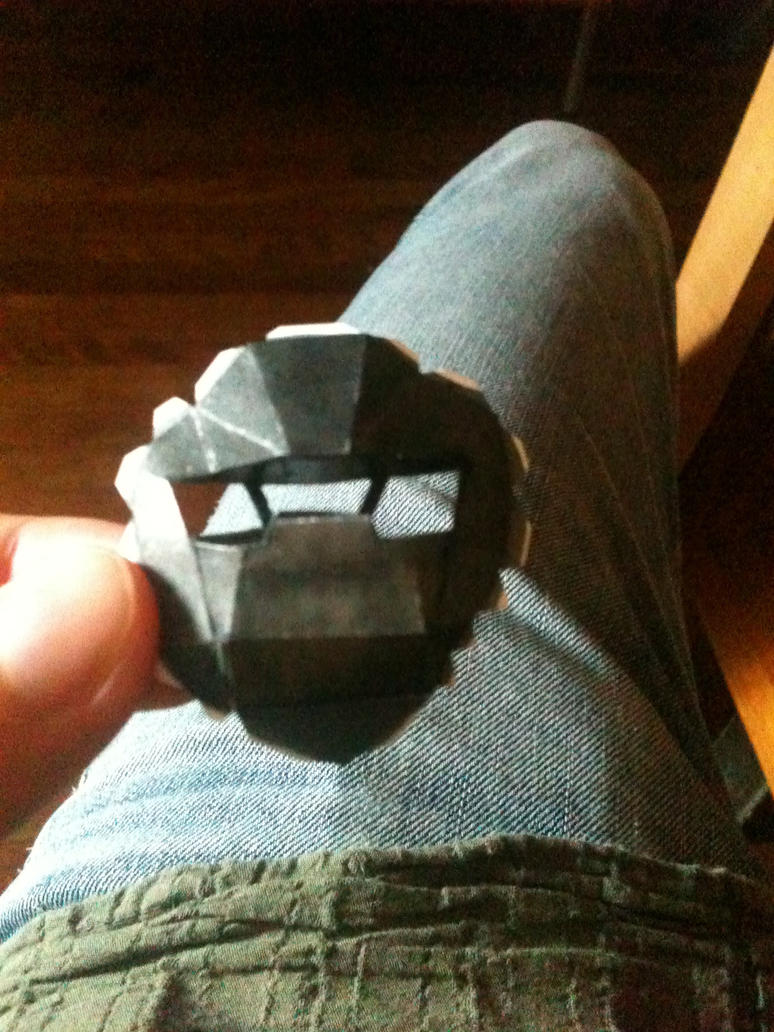
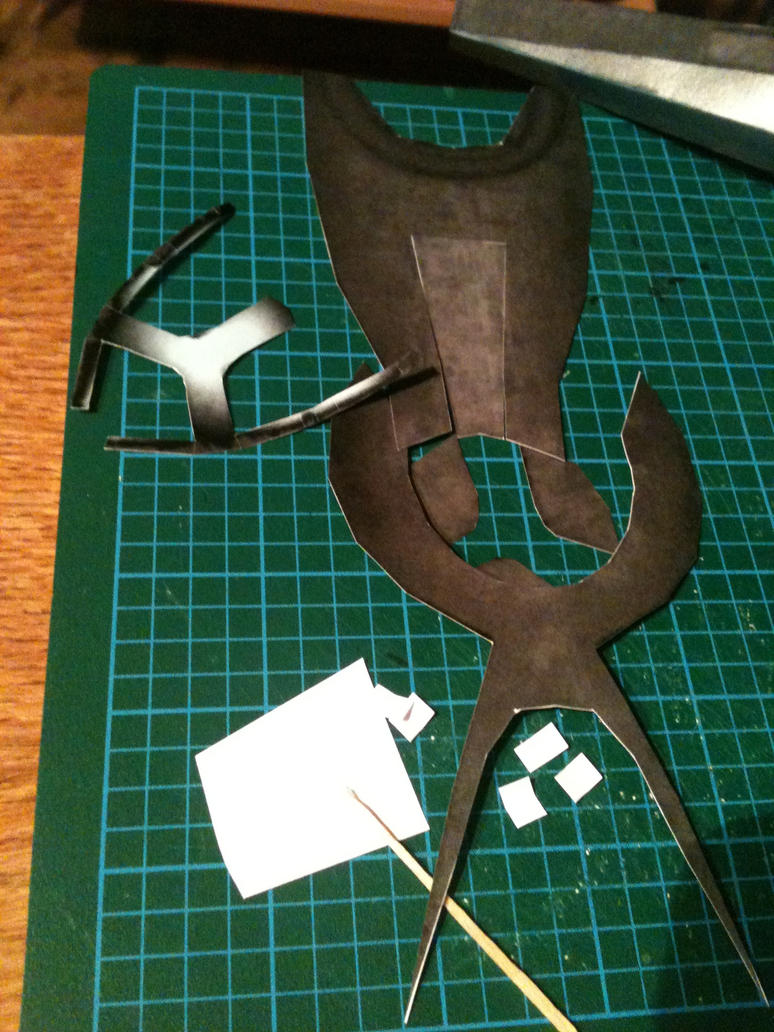
I've started doing the middle part containing the inverted "Y" light as it will be used to join the 2 sides of the body. Since I'll be putting some lights in the ship, I've cut out the part of the middle section containing the lighted area (the inverted "Y"). Then I've proceeded on doing the two sides and joining everything together.
I guess one of the trick when using pepakura is to understand how you'll be folding/ gluing all the parts. It's important if you want to figure out how to make more rounded area and make your life easier. Pepakura is a very awesome tool, but when it comes to the automatic decomposition of a complicated 3D object, it lacks in sophistication. You need to do the decomposition by yourself by doing small, maleable, logical structures that you'll understand.
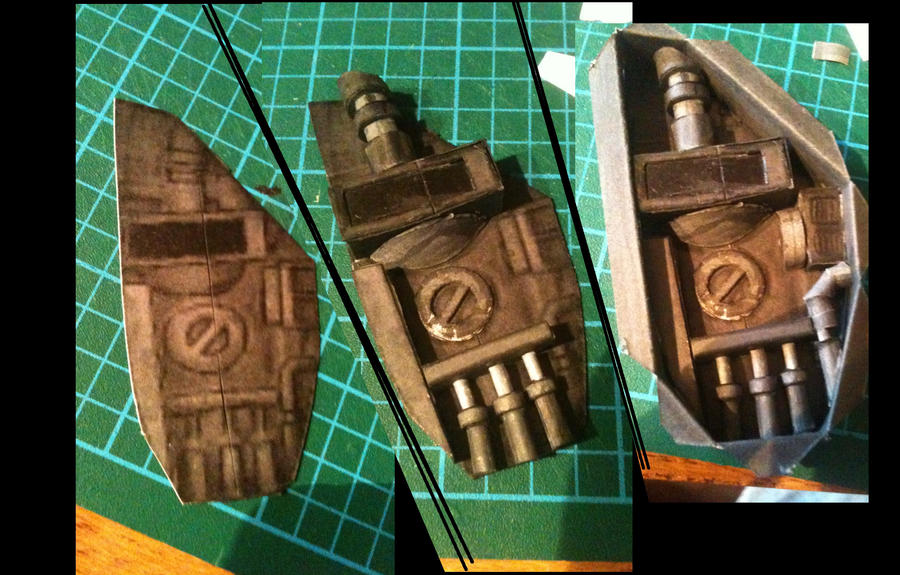
If you want to add some effects, or some additional pieces, you'll need to know how you'll be doing them before starting gluing parts together.
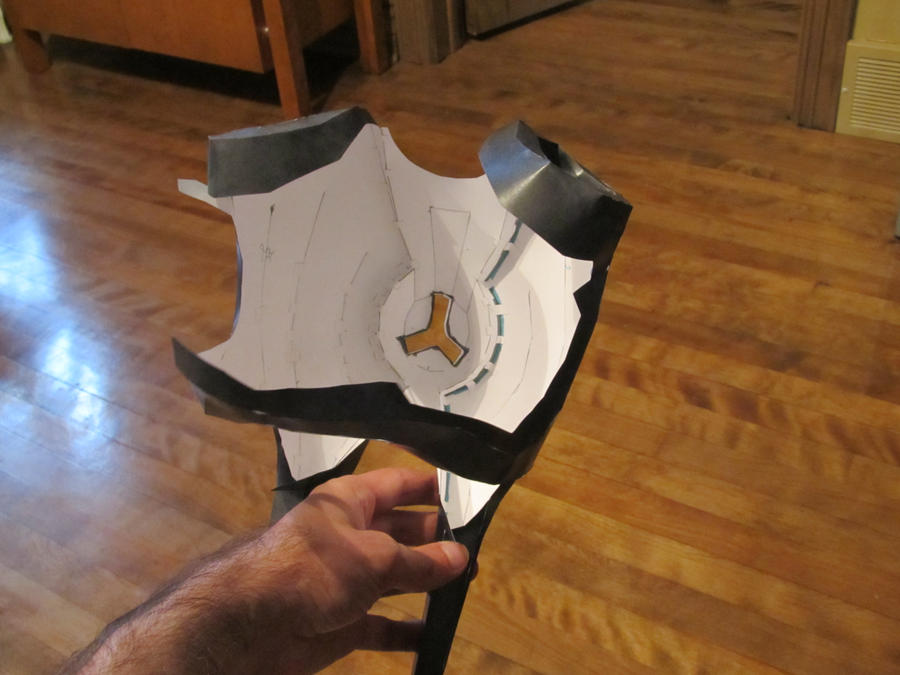
 For the other projects I did in the past, I use to have flaps on the side of the pieces. These flaps would be used with glue to join two adjoining pieces. But by using the flap, since card stock is thick, it shows where you did the junction. What I decided to do for this project was to cut off all the flaps and directly glue the adjoining piece edge to edge. I use UHU super glue for this as it's cheap, does not smell toxic, dries fast and doesn't give me any funny felling if it goes on my skin. It does an amazing job if you do it correctly with a sharpened toothpick. But before doing the gluing, make sure that you've colored the edge with a marker that doesn't bleach and is chemically stable. I tend to use Faber Castell makers if they have the color I want. They're more expensive but worth it.
 In my case, since I'll be putting lights in the ship by using LED, I need to paint the interior in black. The reason I need to do this, is that if I don't, light bleed through the card stock. In order, here is what I'll have to do: use regular white glue on all junction to cover all potential holes before it gets too hard to reach specific edges (it's been done on the body) and then paint the interior with black paint. Using a flash light after will show you all the regions without enough paint. Once this is done, you can move to other parts of the lighting process that I'll be presenting in another blog.
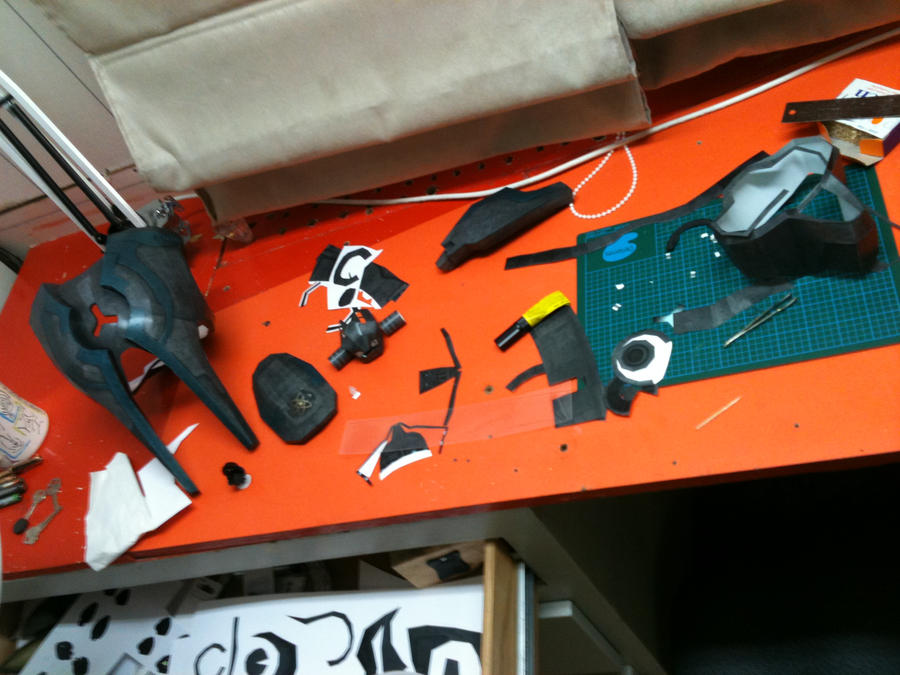
To finish this blog, I just wanted to show what my "workbench" look like.
Enjoy.