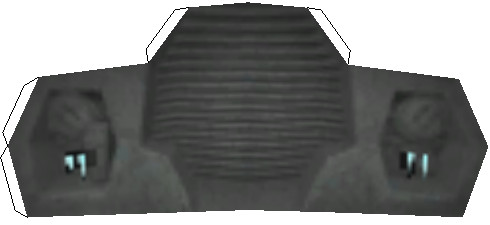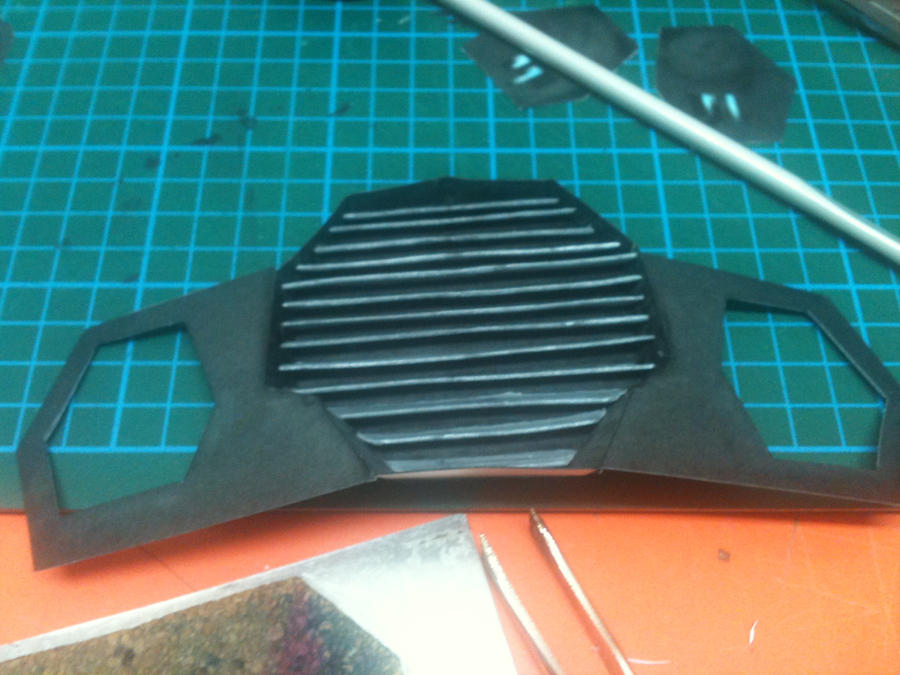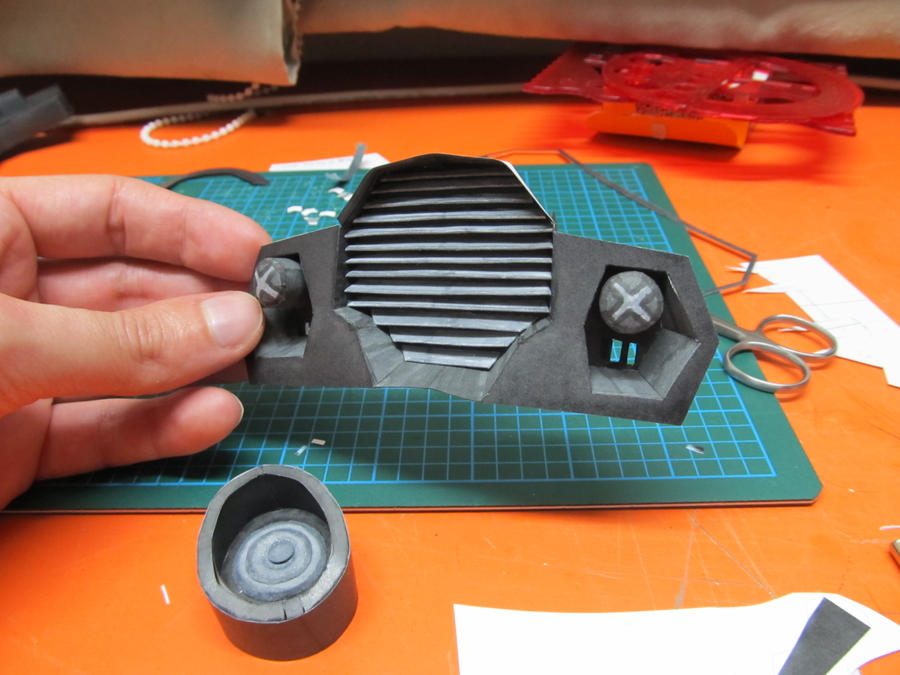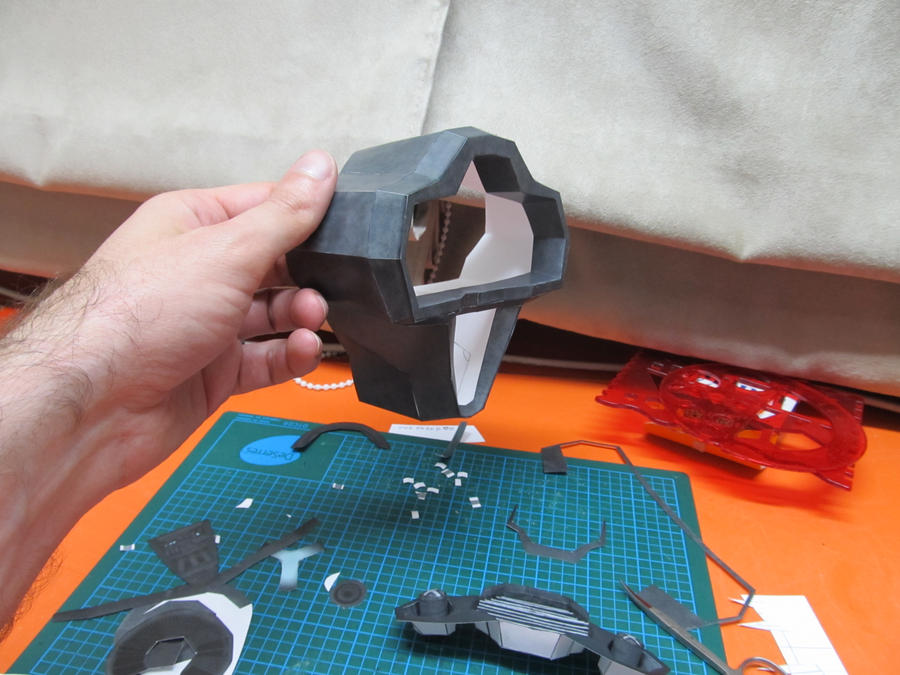
To the left you have a picture of the engine shell that will be containing the fuel apparatus, the cooling system and the 3 engines. The 2 big engines will be mounted on the exterior of the lower half of the engine shell.
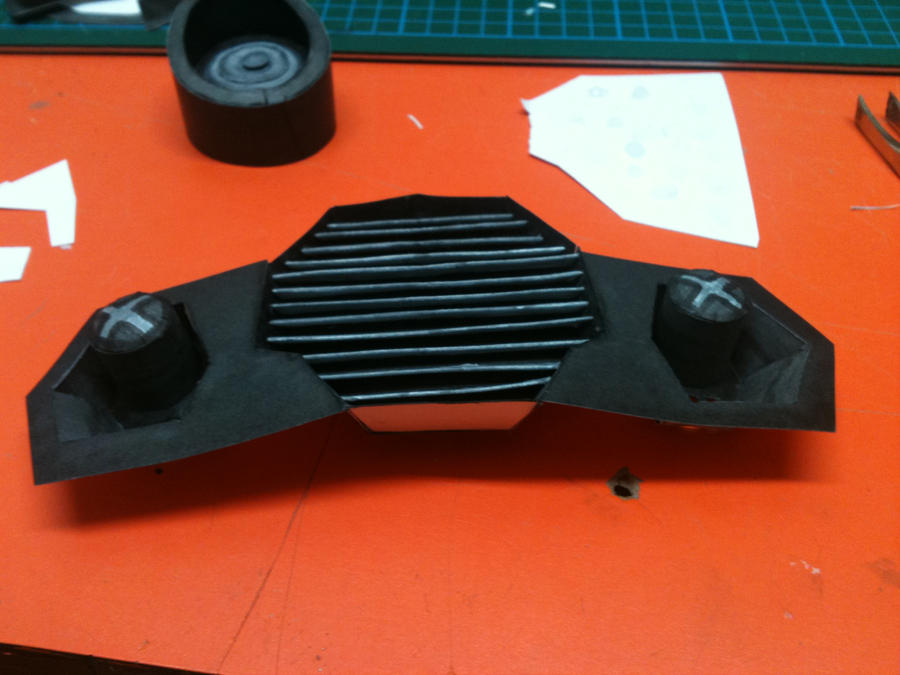
I used to have picture of the process of the 2 main engines, but last weekend, I decided to upgrade the OS of my Iphone to version 5 and I lost all my pictures, contact list and every thing else because the backup did not want to install itself correctly. But here is a description of what was done and in later images, you'll be able to see what I am talking about. When you look at the skin of the main engines, you seem to see something that could look like the rotating fins of an big plane engine. I tried to recreate those fins by cutting a lot of long small pieces of card-stock and coloring them. I then added a piece above it all to cover the fins from the top. I've also added a few pieces to the front of the engine to add dimension.
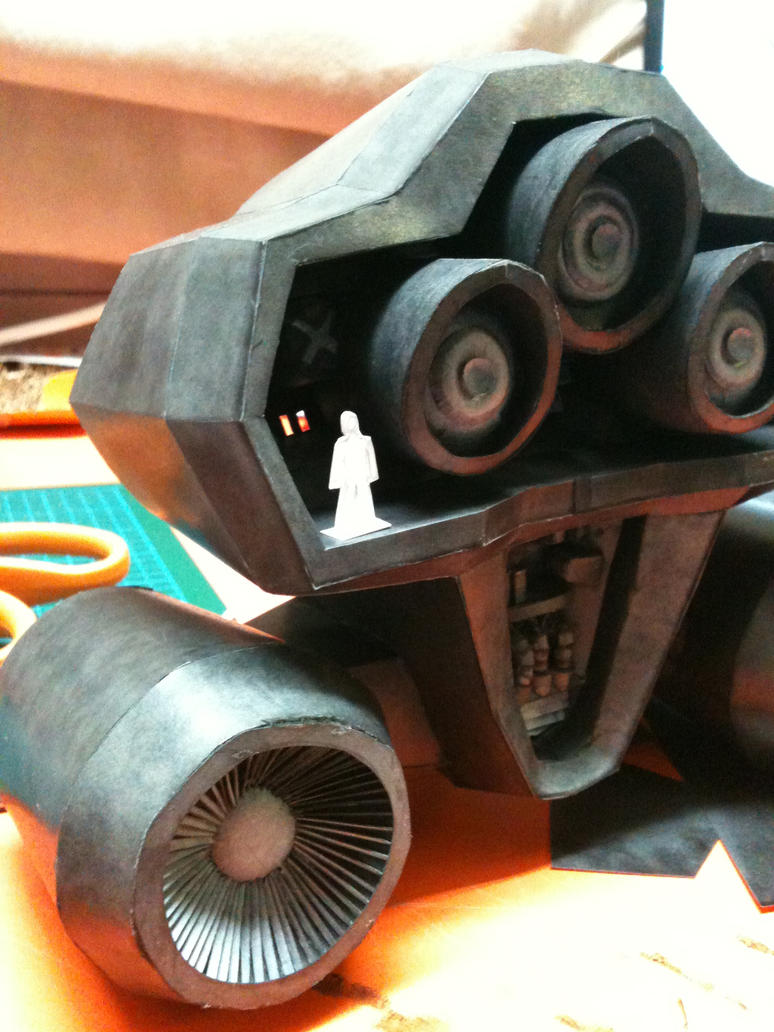
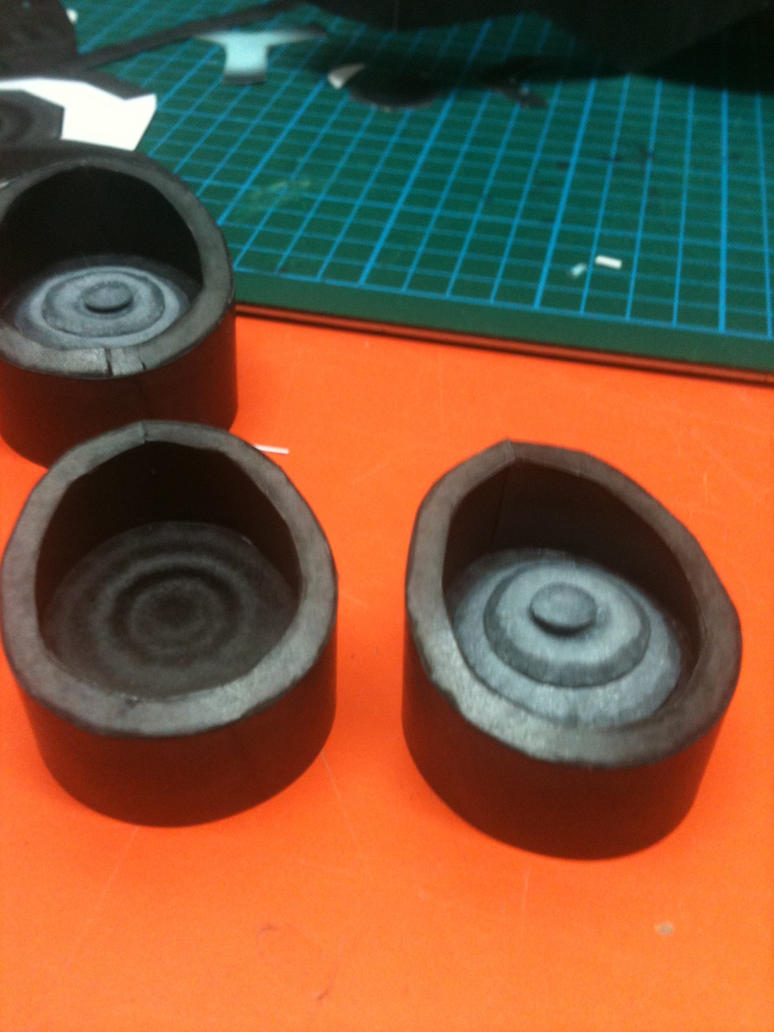
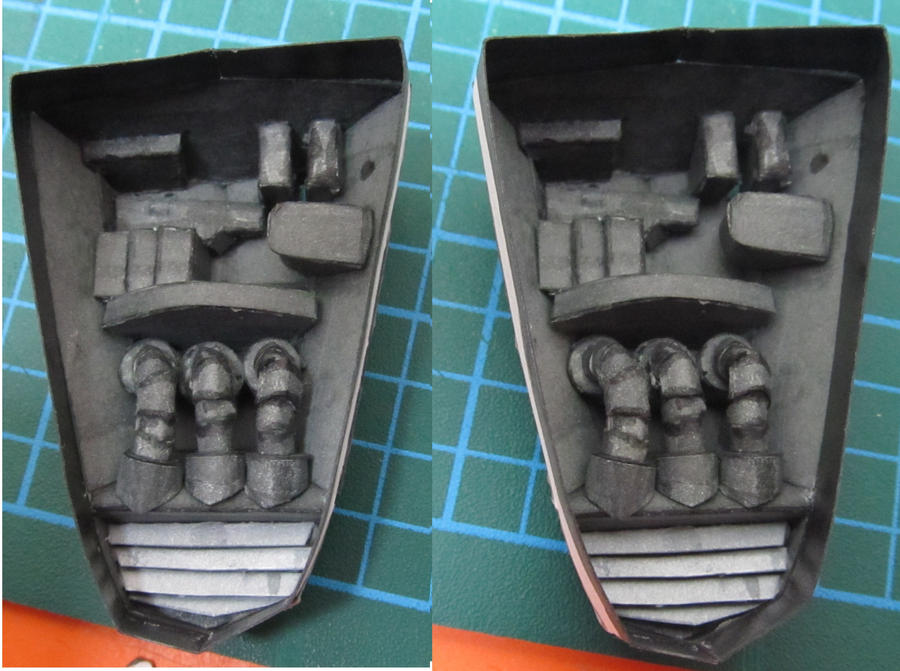
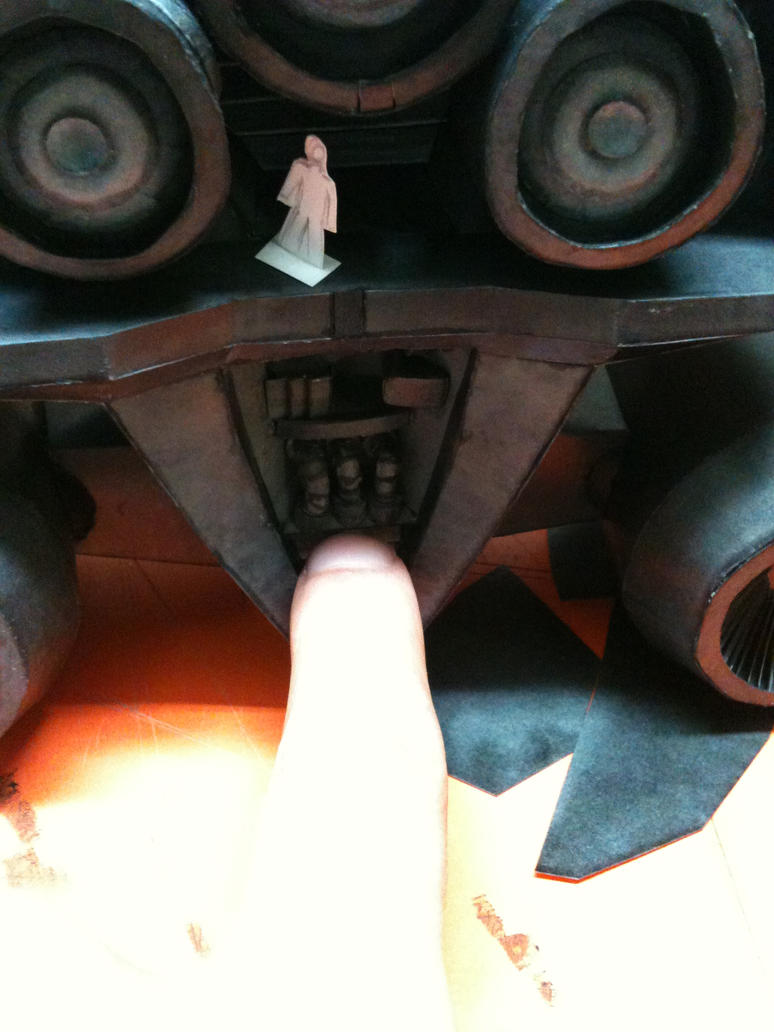 To the left you have a image of the finish engines along with the one of the two main engines. I've also added my human size mannequin called "Bob". Bob is also present in the right image containing a finger pointing at the 3 fuel tubes to show there size. As mentioned in a previous blog, when using LEDs to light up the ship, if I do not paint the interior black, you get light that bleed true the material. Bellow is an image of the painted interior. I'll probably wont paint the whole interior because I'll stop the light from spreading putting aluminium foil.
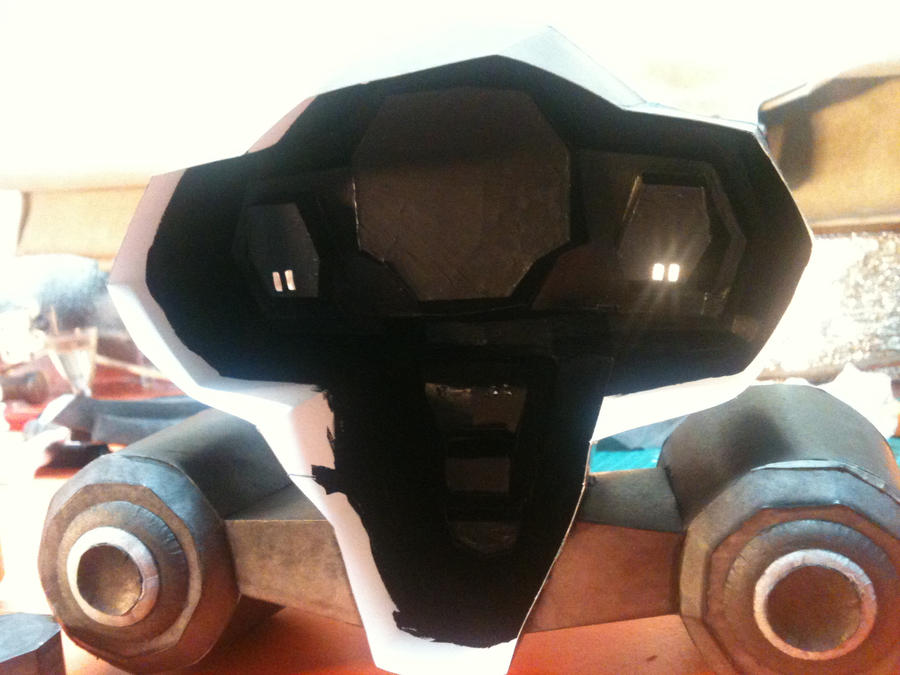
To finish this blog, you have 2 pictures of the finish engine in their full 3D beauty if you are able to do cross eyes to look at it. If you want to see more images of the finished engines, you can go to my deviant art page or go to the Tristan section on the page.